You just bought a domain name. Maybe from HashedDomains, GoDaddy, Namecheap, or another registrar.
You’re excited. You type it in your browser, and nothing. Just a blank page, a parking page, or an error.
That’s completely normal, and it’s not a mistake. A domain name is like a street address.
It tells people where to find you. But without a house (your website) connected to it,
no one can actually visit.
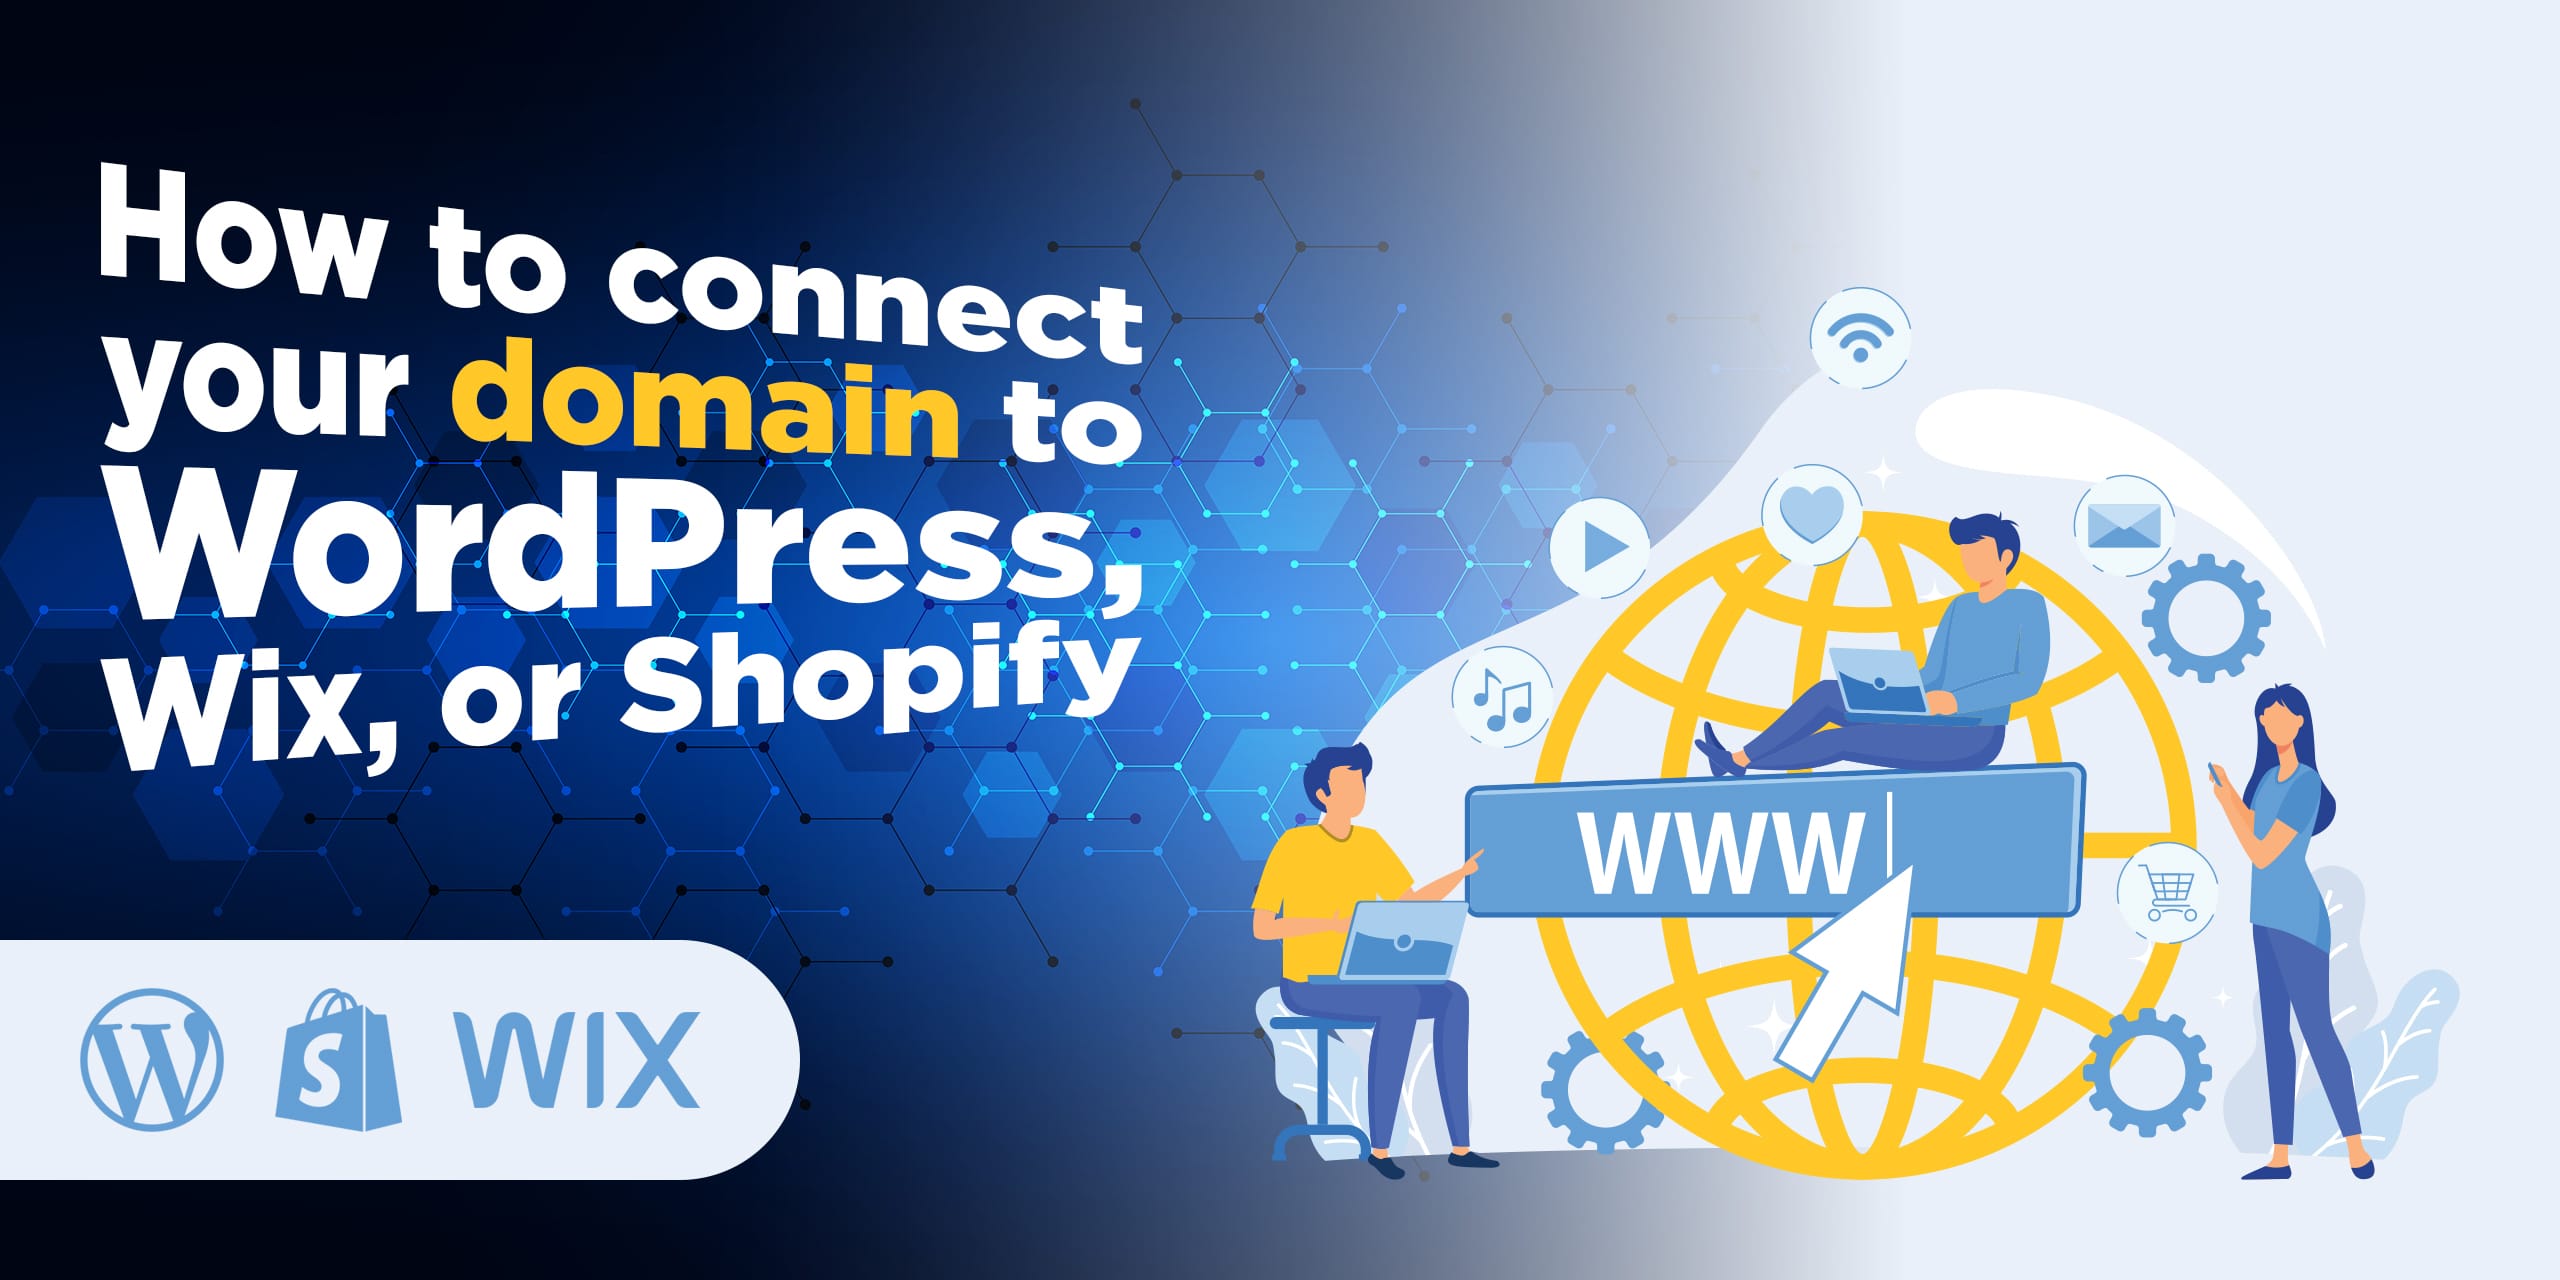
Connecting your domain to a website platform, whether that’s WordPress, Wix, or Shopify,
is the critical step that makes your domain come alive online.
In this complete guide, we’ll walk you through exactly how to do it for all three major platforms,
using simple language that anyone can follow. No technical background required.
Before You Start: Understanding DNS in 60 Seconds
To connect a domain to any website platform, you need to update your domain’s DNS settings.
DNS stands for Domain Name System, think of it as the internet’s phone book.
When someone types your domain (e.g., yourbrand.com) into a browser, DNS records tell the internet
where to send them. There are two main ways to point your domain:
Method 1: Change Nameservers (Recommended for Beginners)
Nameservers are like handing over full control of your domain’s GPS to your website platform.
Your host (WordPress, Wix, Shopify) manages everything. This is the easiest method.
Method 2: Update DNS Records Manually (A Record + CNAME)
This involves directly editing two specific DNS records:
- A Record: Points your root domain (yourbrand.com) to your platform’s IP address
- CNAME Record: Points www.yourbrand.com to your platform’s server address
This method gives you more control but is slightly more technical. We’ll show both where relevant.
Tip: No matter which platform you’re using, DNS changes can take anywhere from a few minutes
to 48 hours to take effect globally. This is called DNS propagation. Be patient, it’s normal.
Part 1: How to Connect Your Domain to WordPress
WordPress is the world’s most popular website platform, powering over 40% of all websites.
There are two versions of WordPress, and how you connect your domain depends on which one you’re using:
- WordPress.com, a hosted platform (like Wix), manages your server
- WordPress.org (Self-Hosted), you install WordPress on your own hosting (like Bluehost, SiteGround, Hostinger)
Option A: Connecting Your Domain to WordPress.com
If you’re using WordPress.com’s hosted service, here’s how to connect your external domain:
Step 1: Log In to Your WordPress.com Account
Go to wordpress.com and log in. You need at least a paid plan to use a custom domain;
the free plan only gives you a yoursite.wordpress.com address.
Step 2: Add Your Domain
- From your site’s dashboard, navigate to Upgrades → Domains
- Click “Add a domain” and select “Use a domain I own.”
- Type your domain name and click Continue
- Choose Connect your domain (not Transfer)
- Click Start Setup
Step 3: Update Your Domain’s Nameservers
WordPress.com will display three nameservers you need to copy:
- ns1.wordpress.com
- ns2.wordpress.com
- ns3.wordpress.com
Now, go to your domain registrar (where you bought the domain, e.g., HashedDomains, Namecheap, GoDaddy):
- Log in and find your domain in the dashboard
- Look for “Nameservers” or “DNS Settings”
- Delete the existing nameservers
- Enter the three WordPress.com nameservers above
- Save the changes
Step 4: Verify the Connection
Return to WordPress.com and click “Verify Connection.” The status may show as pending at first.
Within a few hours (up to 72 hours), your domain will resolve to your WordPress.com site.
Important: If you have email hosting tied to your domain (e.g., hello@yourbrand.com),
changing nameservers can break your email. Configure email settings in WordPress.com BEFORE switching
nameservers to avoid disruption.
Option B: Connecting Your Domain to Self-Hosted WordPress (WordPress.org)
If you’re using WordPress.org installed on a hosting provider like Bluehost, Hostinger, or SiteGround,
the process is slightly different.
Step 1: Get Your Hosting Provider’s Nameservers
Log in to your hosting account and locate the nameservers. They typically look like:
- ns1.yourhostingprovider.com
- ns2.yourhostingprovider.com
You can find these in your hosting Welcome Email, cPanel, or DNS settings section.
Step 2: Update Nameservers at Your Domain Registrar
- Log in to your domain registrar account
- Find your domain and open DNS/Nameserver settings
- Replace current nameservers with your hosting provider’s nameservers
- Save and wait for propagation (up to 48 hours)
Step 3: Install WordPress on Your Hosting Account
If you haven’t already, install WordPress via your host’s one-click installer
(usually found in cPanel under “WordPress” or “Softaculous”). During setup,
enter your domain name when prompted.
Step 4: Access Your WordPress Dashboard
Once DNS propagates, visit yourdomain.com/wp-admin in your browser.
Log in with your credentials. Your website is now live, and your domain is connected.
Pro Tip: You can use a free tool like
hashetools.com
to see if your DNS changes have propagated globally yet.
Just type your domain name and check A Record results across multiple regions.
Part 2: How to Connect Your Domain to Wix
Wix is a beginner-friendly drag-and-drop website builder. If you purchased your domain from an external registrar
(like HashedDomains or Namecheap) and want to connect it to a Wix website,
here’s the process:
Step 1: Log In to Your Wix Account and Open Domain Settings
- Log in to your Wix account at wix.com
- Go to Settings → Domains
- Click “Connect a domain you already own.”
- Enter your domain name and click Next
Step 2: Choose Your Connection Method
Wix will give you two options:
- Connect via Wix Nameservers (Recommended), Wix manages your DNS entirely
- Point to Wix (Manual DNS), you update A and CNAME records yourself
If you choose Nameservers (Easiest):
Wix will show you their nameservers. Go to your domain registrar and update the nameservers
to the ones Wix provides. Save, then return to Wix and click “Done.”
If you choose Manual DNS (More Control):
You’ll need to update two records at your registrar:
- A Record: Set your root domain to point to Wix’s IP address (Wix will display this)
- CNAME Record: Set www to point to wixdns.net (or the value Wix specifies)
Step 3: Set It as Your Primary Domain in Wix
- Return to Wix → Settings → Domains
- Next to your connected domain, click “Set as Primary.”
- Confirm your selection
Your Wix website will now load when visitors type your custom domain.
Step 4: Wait for Propagation
DNS changes can take anywhere from a few minutes to 48 hours.
Wix will show the domain status as “Connected” once it’s live.
Note: If you purchased a domain directly through Wix, it’s already connected automatically.
The steps above apply only to domains bought from external registrars like HashedDomains, GoDaddy, Namecheap, etc.
Part 3: How to Connect Your Domain to Shopify
Shopify is the leading eCommerce platform. If you’re setting up an online store and want to use your own
custom domain instead of yourstore.myshopify.com, here’s exactly how to do it:
Step 1: Log In to Your Shopify Admin
- Go to your Shopify admin dashboard
- Navigate to Settings → Domains
- Click “Connect existing domain.”
- Enter your domain name (without www) and click Next
Step 2: Update Your DNS Records at Your Registrar
Shopify will show you the DNS records you need to set up. You’ll need to update two records:
A Record (Root Domain):
- Host/Name: Leave blank or enter @
- Value/Points to: 23.227.38.65 (Shopify’s IP address)
- TTL: 1 Hour
CNAME Record (www):
- Host/Name: www
- Value/Points to: shops.myshopify.com
- TTL: 1 Hour
Log in to your domain registrar, find the DNS settings for your domain,
delete any existing A records pointing elsewhere, and add the new records above.
Step 3: Verify the Domain in Shopify
- Return to your Shopify admin → Settings → Domains
- Click “Verify connection.”
- If prompted, Shopify may ask you to add a TXT verification record
- Add the TXT record to your domain’s DNS settings with the value Shopify provides
- Click “I updated DNS records” in Shopify
Step 4: Set Your Custom Domain as Primary
- In Shopify → Settings → Domains, find your connected domain
- Click “Set as primary.”
- Shopify will automatically redirect yourstore.myshopify.com to your custom domain
Important: Shopify does NOT provide email hosting.
If you want a professional email like hello@yourbrand.com, you’ll need to set up a separate email service
such as Google Workspace or Zoho Mail, and add MX records to your DNS separately.
How Long Does It Take?
Shopify typically verifies the connection within a few minutes to a few hours.
Full DNS propagation can take up to 48 hours. You can check the status anytime in Settings → Domains;
the domain will show “Connected” when it’s ready.
Quick Comparison: WordPress vs Wix vs Shopify Domain Connection
| Feature | WordPress.com | Wix | Shopify |
|---|---|---|---|
| Connection Method | Nameservers / DNS Records | Nameservers / DNS Records | A Record + CNAME |
| Difficulty | Beginner-Friendly | Very Easy | Moderate |
| Propagation Time | Up to 72 hours | Up to 48 hours | Up to 48 hours |
| Email Hosting Included | Yes (paid plans) | Yes (via Google) | No (separate setup) |
| Free Plan Supports Custom Domain | No | No | No (paid plans only) |
| Shopify IP (A Record) | N/A | N/A | 23.227.38.65 |
5 Common Mistakes to Avoid When Connecting Your Domain
1. Forgetting to Remove Old Nameservers
When adding new nameservers, always delete the old ones.
Having multiple conflicting name server sets causes DNS errors and prevents your site from loading correctly.
2. Expecting Instant Results
DNS propagation is not instant. Many beginners panic when their domain doesn’t work minutes after making changes.
Give it at least 24 hours before troubleshooting.
3. Breaking Email When Switching Nameservers
If you use a custom email address (e.g., hello@yourdomain.com), changing nameservers can break it.
Always note your existing MX records and transfer them to your new DNS provider before switching.
4. Connecting the Domain, but Forgetting to Set It as Primary
All three platforms, WordPress, Wix, and Shopify, require you to explicitly set your connected domain
as the “primary domain.” Without this step, visitors may still see the default platform URL.
5. Using the Wrong A Record Value for Shopify
Shopify’s A record IP is 23.227.38.65. Using any other IP address (or leaving old ones in place)
will prevent the connection from working. Always delete existing A records before adding Shopify’s.
Troubleshooting: What If Your Domain Still Isn’t Connecting?
If 48+ hours have passed and your domain still isn’t connecting, run through this checklist:
- Verify you saved the nameserver or DNS record changes; it’s easy to forget to click “Save.”
- Check that you removed old conflicting nameservers or A records
- Use hashetools.com to view your current live DNS settings globally
- Make sure your domain registration is active and not expired (check your registrar dashboard)
- Confirm you’re on a paid plan on your platform (all three require paid plans for custom domains)
- Check whether your domain has a lock enabled that might be interfering. Domain locks are for security, but shouldn’t affect DNS connections
If you’re still stuck, contact your domain registrar’s support team.
They can often verify DNS settings directly.
Final Thoughts: Your Domain Is Now Connected. What’s Next?
Connecting a domain to your website is one of the most satisfying steps in building an online presence.
Once the DNS propagates and your custom domain loads your website for the first time, it feels real.
To recap:
- For WordPress: Update nameservers to WordPress.com’s or your hosting provider’s nameservers for self-hosted WordPress.org
- For Wix: Either use Wix’s nameservers or manually update A + CNAME records
- For Shopify: Set the A record to 23.227.38.65 and CNAME to shops.myshopify.com
The golden rule for all three platforms: always wait for DNS propagation,
set your domain as the primary domain, and double-check that old DNS records are cleaned up.
At HashedDomains, we make domain registration fast and transparent,
so you can focus on building, not troubleshooting. If you’re still looking for the perfect domain,
explore our available domain extensions today.
Frequently Asked Questions (FAQ)
Can I connect the same domain to multiple platforms?
No. A domain can only point to one website at a time. You can use subdomains
(like shop.yourdomain.com) to point to different platforms, but the root domain
can only connect to one destination.
Do I need a paid plan to connect my domain?
Yes, for all three platforms, WordPress.com, Wix, and Shopify, a paid subscription is required
to use a custom domain. Free plans only provide a subdomain (e.g., yoursite.wixsite.com).
What’s the difference between connecting and transferring a domain?
Connecting your domain keeps it registered with your current registrar (e.g., HashedDomains)
but points it to your platform. Transferring moves the actual domain registration to a new registrar.
Connecting is faster and easier; transferring is useful if you want everything managed in one place.
My website loads but shows ‘Not Secure’. What do I do?
This means your SSL certificate hasn’t been issued yet. All three platforms (WordPress, Wix, Shopify)
provide free SSL via Let’s Encrypt. SSL usually activates automatically within a few hours of the domain
connecting. If it doesn’t, check your platform’s domain settings and look for an “Activate SSL” option.
Can I connect my domain if it’s brand new?
Yes. There’s no minimum age requirement to connect a domain; you can connect it the same day you buy it.
(Note: domain transfers
between registrars require the domain to be at least 60 days old, but that’s different from connecting.)